Last weekend, Andi led a 2 day shibori dying workshop. 12 Fibervision members had a blast in this exhausting workshop. The first afternoon was spent painting the fabric with dye and letting it dry. This part was pretty quick and easy. No soda ash was added to the dye on the first day, so all the colors mingled and created new colors on the second day. We spent a fair amount of time wrapping tubes, rope, and beads with fabric. Then we spent quite of bit of time mixing, and sloshing in colorful dyes. Then we spent a lot of time untying and unwrapping all the pieces and rinsing all the dye out.
Most of my pieces came out beautiful, but I got a few uglies too.


 This piece was plain white fabric that was wrapped and dipped into black.
 This piece was previously dyed (and fixed) with green, blue, and fuchsia splotches. I created a the circles by placing brass circles between the layers of fabric, and clamping the layers together.
Here is the under-painted fabric that has lemon yellow, fuchsia and red/orange. I used the highly technical splatter technique.
Here it is after it was folded, wrapped and dipped into teal dye.
Here's another under-painted piece that has blended stripes.
And here it is after wrapping, tying and dipping in purple. ooohhhhh, I like this one a lot!
This piece was plain white fabric that was wrapped and dipped into black.This piece was previously dyed (and fixed) with green, blue, and fuchsia splotches. I created a the circles by placing brass circles between the layers of fabric, and clamping the layers together.If you decide to try this with a group, here's a helpful hint. Write your name on tyvek and attach it to each piece of fabric you dye. Your name will still show, no matter what color you dye with. That's a lesson learned the hard way!


 I shoot 80% of my photos as a
  If you don't have a camera that can shoot RAW, this before and after photo could make you think twice about a new camera! I love cameras and software and was a graphic designer for 20 years, so this is right up my alley. It's not for everyone though.
 Back to our trip to


 If you ever need concrete and live in southern CA, call Martinez Concrete & Pumping. They are a fantastic team.

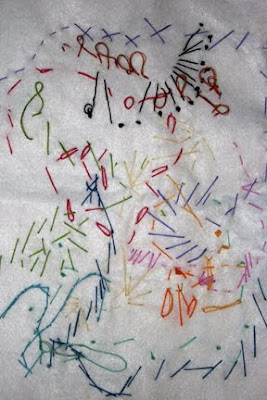

 These are are so much fun to make . . . I'm sure I'll be making some more soon.

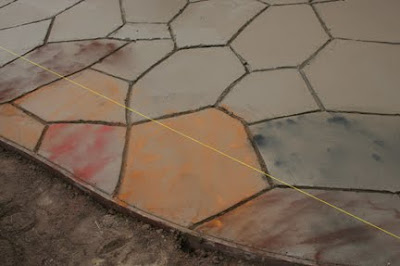

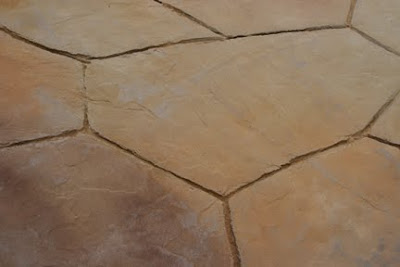

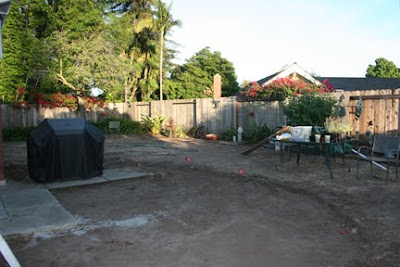
 This back yard renovation is probably a good excuse for being late with everything. As you can see the patio is very close to being done. It curves along the full length of the house and wraps around one corner.
  I did 15 different designs in Illustrator before we settled on this patio shape. I think the curves are more interesting than straight lines, and it just felt right. Once I had a shape that I liked on paper, I tested the shape in real life. I drew it onto the ground with flour. Once I had it perfect. I marked the line with flags, and the contractor placed the bender board on the marked line.
 The concrete will be poured this coming Saturday. The base color will be sandstone and there will be flagstone shapes drawn into it. They will sprinkle 3 different colors on top. When it's dry, the cracks will get grouted and the whole thing will be sealed.