
There are 26 active members that live in CA within 150 mile radius of each other. We rent a room once a month at a community center to plan/discuss exhibits, art topics, share finished work, seek advice and play. Each month one or two of the members shares a technique or knowledge with the rest of the group. The talent and expertise within this group is amazing. I am very fortunate to be associated with such a wonderful group of artists. They are always a source of inspiration. Visit our website at www.fibervision.org
This month Michelle brought pigment based dyes and Cathi brought fiber reactive dyes for us to play with. Wow, did we have fun. Most people dyed cloth, Joan overdyed rusted cloth, Kristin brought a rayon shawl and Diana brought a silk tank top .
 This photo shows the results I got with the dye. Left to right: White on beige, white on white, the next 3 were black and white and last one was a pink, beige and cream stripe. My favorite is the white on white/beige pieces.
 This photos shows three pieces that were painted with the pigment dye. This pigment dye is very bold, the colors are much stronger than the dye-na-flo or setacolor that I am used to. I love them all.

 I was inspired by the amazing ice plants that bloom every spring outside my sewing room (see the post on Mother's Day). The three-dimensional construction is very simple, but effective. Basically, it is a strip folded in half, gathered and clipped.
 I had a difficult time getting the butterfly embroidered just right. You can see from my last post, I used a different butterfly. As expected, the first one was way too big, the second one wasn't sturdy enough to stand up, but the third one was just perfect!


 This piece has 2 yellows, green and blue-green. I placed washers on top as a resist.
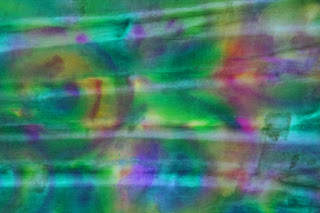 Circular shapes were painted using all five colors.


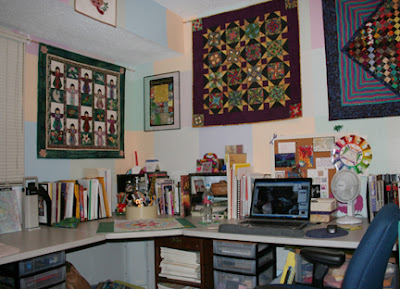 This is the area where I do most of the cutting and ironing. There is my beloved HP laptop. This was my Christmas gift from Mike. At the time, I didn't realize how much I would love it.
 This is my wall of fabric. One to two yard lengths are rolled up, tied and stored on end on these shelves. They are sorted by value, but I can see in this photo that a few pieces are out of place. Oh well, that will have to wait for another day!


