Showing posts with label water soluble crayons. Show all posts

May 27, 2010

The Benefits of Water Soluble Crayons

Rayna wondered why you would use Water Soluble Crayons instead of textile paint. Here are several reasons that I can think of. Clean up is much quicker, they are super easy to use, they are very compact for traveling, they don't change the hand of the fabric, and the most important reason of all is that I LOVE to experiment with new materials.
Twelve crayons in a compact tin.
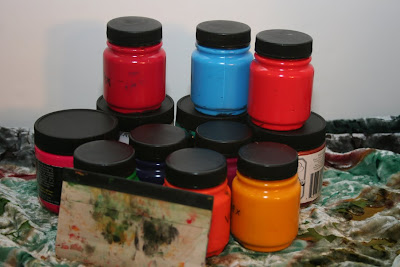
Twelve jars of textile paint.
Don't get me wrong, I love textile paints and crayons won't replace my paint. Crayons are simply one more tool in my toolbox. I'll be traveling this summer, and crayons will be in my suitcase. You may find that crayons are exactly what you need for a particular situation. Options are good!

May 23, 2010

Printing with Water Soluble Crayons

If you are looking for a new way to add a layer of color, try water soluble crayons. They are easy to use, cleanup is a snap and they deliver great results. All you need is a thermofax screen, Jacquard extender and water soluble crayons.
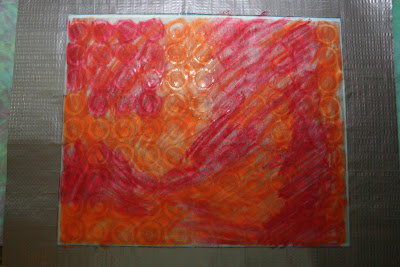
Place a padded surface on your table, place the fabric with the pretty side up and put the thermofax on top. Color all over the screen with the water soluble crayons. If you want saturated colors, press hard while coloring to make sure a lot of crayon is applied. Add a line of extender across one edge of the screen, like you would if it were ink or paint and drag it across the entire screen. I used a bondo applicator tool from the car store, but the best tool depends on the surface you are working on.
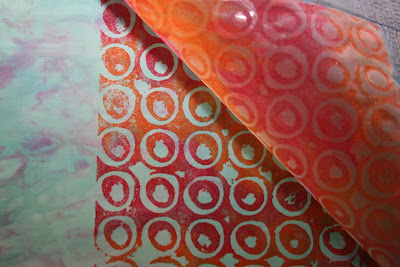
This photo shows the fabric before it was printed (left), what the printed surface like as I peel the thermofax back (center) and the thermofax as it's being removed (right).
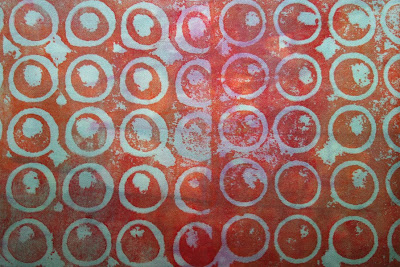
Here is a section of cloth that shows two pulls. You can use one solid color or mix and match whatever way you choose.
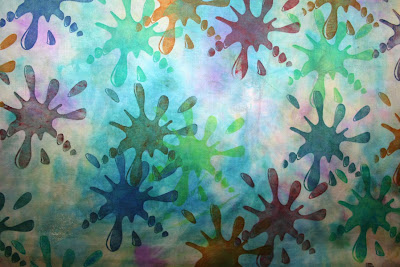
This piece shows the same design printed many times using different colors. I started printing with the lime green color, added some blue and printed, added some red and printed, and then I added some yellow and printed. Each additional color mixed with the color below it to create new colors. You should always work quickly and keep your screen good and wet. Fun experiment, great results!
May 2, 2010

Enhancing the Surface with Layers of Color

The base fabric was painted with Dye-na-flow, when it was dry, water soluble crayons were applied through two different thermofax screens. I didn't care for the way it was developing . . . it looked too pretty. I decided to put it away for a couple of weeks.
When these new permanent markers arrived, I had to test them. I added a layer of writing to the surface. Interesting, but I didn't want the writing to be the focus. Now what?
It's too monochromatic, it needed some intense color. Circles were added with permanent markers and Tsukineko ink. Better . . . but too bright.
I decided to integrate the layers by glazing with two colors of Jacquard Textile Paint. I applied the paint to the entire surface with a dry sponge. The glaze knocked the intensity down a notch.
A subtle change, but much better.

May 9, 2007

The Perfect Day

I work late quite often and have many comp hours built up. So, I decided to take the day off today and do whatever I wanted. I didn't do any laundry or dishes; I didn't even make the bed! I spent the morning taking photos and this afternoon I painted a yard of white fabric I found when I cleaned my studio. Then I met with my ATC group and exchanged some great cards. Mike and I went to the beach and ate dinner. It was a perfect ending to The Perfect Day.
My next post will have photos of the fabric and cards.
Terri, from Stegart asked for a closer look at the flower quilt on my design wall. It isn't quite finished, but is very close. When I started this drawing, I was thinking of how nature appears to a small bug on the ground.

The background fabric was painted very lightly with dye-na-flow, then the flowers were painted using dye sticks and water soluble crayons. The background texture was created by rubbing dye sticks across the fabric with plastic canvas underneath. The bee and butterfly were embroidered on my Viking.