I led the
Fibervision design workshop this month. It was loosely based on
Jane Dunnewold's book Finding Your Own Visual Language. A creative group of artists really doesn't require much in the way of instruction. Place materials in front of them, give them a general idea and off they go. Everyone enjoyed carving their own stamps; some used
Exacto Knives, some used carving tools.

I used Jacquard
Neopaque to print my stamps on cotton fabric. After drying for a couple of days and heat setting, I began to play with the printed fabric.

I sprayed the fabric with water and squirted some violet, blue and green Dyna-Flow on top. As expected the
Neopaque acted as a resist and the Dyna-Flow bled together around the stamped area. It was pretty juicy and I didn't want to waste good paint, so I added a layer of fabric on top and squished (technical term) the layers together.

This was pretty good, but it needed a little something.
 Hmmm
Hmmm . . . Apple Green and Red should do the trick! It was pretty juicy again, so I added another layer of fabric and squished.
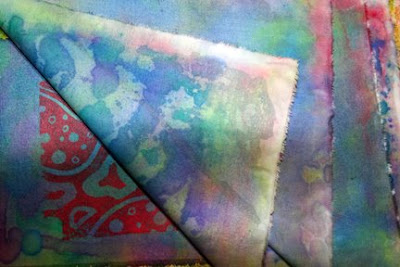
I couldn't wait to see what it looked like, so I peeled back the layers and took this photo. I can't wait for it to dry! I also painted two other pieces that I'll show in the next post.
 The first two photos show the carved stamp and the printed fabric made with that stamp.
 I used Neopaque paint to print the stamps in an all over design and let it dry.
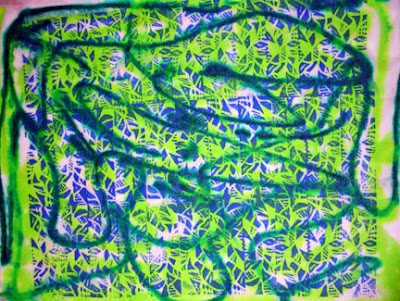 I layered this batch a little differently than the last one. I put a white piece of fabric down first, then layered the blue printed fabric face up. I sprayed it with water and squirted apple green and blue Dyna-flow on top.
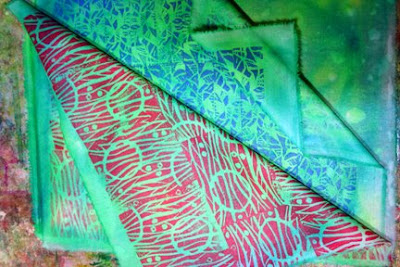 Then I added the red printed fabric face down and squished. Here's a photo of the stack when it was still wet. This is a great way to add a bit of background color to white fabric. I'll show you the final outcome in the next post.


