I began carving erasers several months ago, first with an
exacto knife, then a carving knife. It was fun to carve the erasers, but they're very small. I decided that I needed to carve a larger piece, so I purchased some Speedy Cut by
Speedball and got to work.

I set the stamp down to answer some emails. When I was finished, I realized that the stamp was hanging off the edge of the table and I broke the corner of it. Can you see the crack in top right corner? Wow, this stuff is kind of brittle, the erasers are a lot more pliable.
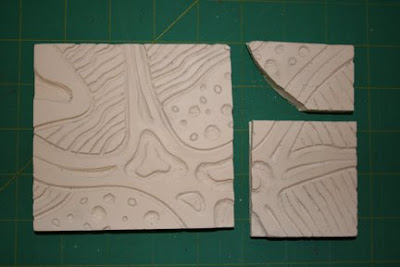
What a Bummer! I tried to glue it, but it didn't look good. There was only one thing I could do; cut it into three smaller stamps.

Then I flipped two of the stamps over and carved the other side.
What do you think the stamp on the right represents?
An abstracted, happy wine opener (another design exercise). If you recognized it, I didn't do a very good job abstracting it!! I think it sort of looks like a woman with BIG hair. LOL
I can't wait to ink these up and see how they print. Stay tuned. . . .
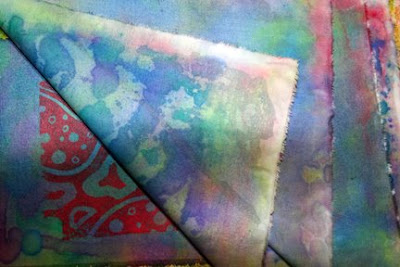
 The first two photos show the carved stamp and the printed fabric made with that stamp.
 I used Neopaque paint to print the stamps in an all over design and let it dry.
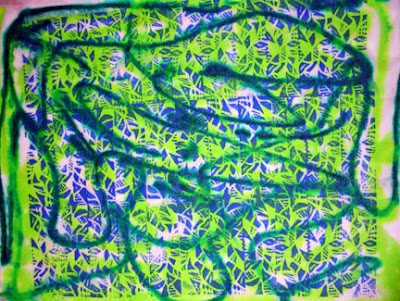 I layered this batch a little differently than the last one. I put a white piece of fabric down first, then layered the blue printed fabric face up. I sprayed it with water and squirted apple green and blue Dyna-flow on top.
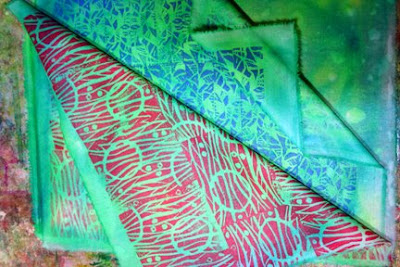 Then I added the red printed fabric face down and squished. Here's a photo of the stack when it was still wet. This is a great way to add a bit of background color to white fabric. I'll show you the final outcome in the next post.


 I used Jacquard
 This was pretty good, but it needed a little something.