
Some people remove pieces and reuse them in some way. Some make additions and turn them into useful items like bags or boxes. Some change the look by dyeing, discharging or painting the fabric.
I received a finished quilt, complete with binding, a label and a poem. It's a pretty traditional pattern, but it had bits of yarn and tulle running through it a lot of beads. 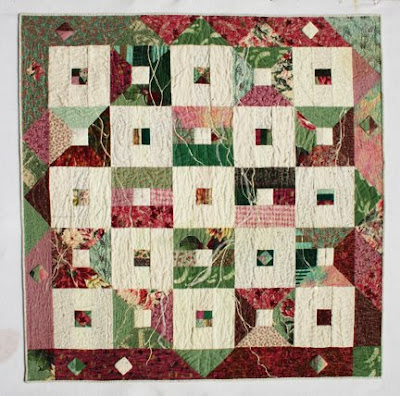 I had a very difficult time with this piece, because I know it took many hours to make. I didn't want to destroy it. I stared at it for months and often used it to cover up when I was chilly in my studio. I knew I had to do something dramatic to change it but what? Cutting it wasn't going to be enough and I couldn't take it apart because the quilting was quite dense. I decided to paint it.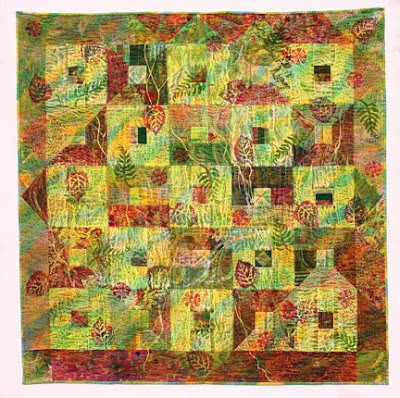
I had a very difficult time with this piece, because I know it took many hours to make. I didn't want to destroy it. I stared at it for months and often used it to cover up when I was chilly in my studio. I knew I had to do something dramatic to change it but what? Cutting it wasn't going to be enough and I couldn't take it apart because the quilting was quite dense. I decided to paint it.Here's the quilt after it was painted with Setacolor, stamped with Neopaque and rubbed with Shiva sticks. It's very different, but it still isn't quite finished. Now I'm needle felting wool roving on top in a swirling circle pattern.
I told everyone that I was going to turn it into a bag, but they all thought it was great as a quilt and didn't want me to cut it.
What do you think? Keep it whole or turn it into a large tote bag? Hmmmm
The big reveal was today at our holiday party. Everyone made fantastic Revision pieces and fabulous food. We spent the afternoon at Cathi's beautiful house enjoying each other's company. It was a great day . . . a very welcome break from the ever present landscaping project.


 You are a one of a kind, original person. There's no one even close to being like you. Expressive and creative, you have a knack for making the impossible possible. While you are a bit offbeat, you don't scare people away with your quirks. Your warm personality nicely counteracts and strange habits you may have.
 They were so gorgeous, I just couldn't resist . . .
  Mike is building a new fence and gate. When will it end?? I'm hoping most of it will be done by Christmas. I'm pretty tired of all the mud being tracked into the house. Well, the new paint job probably won't be finished, we may just have to slap a quick coat to cover all the ugliness of the missing trim.
  I've managed to bond with a needle felting tool I recently purchased. This little pen can be adjusted to hold three, two or one needle. The instructions were pretty sparse, mostly keep the needles straight and don't stab your fingers. Warning: the needles are sharp! Don't ask.

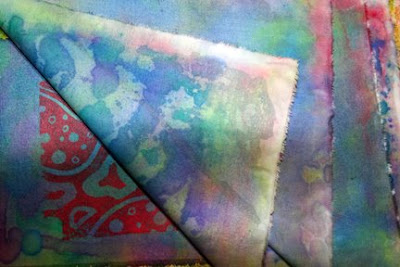
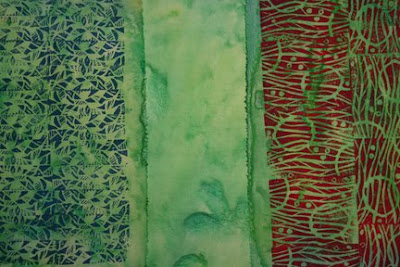 This sample shows two layers of stamped fabric and the plain fabric that picked up the excess paint.


 The first two photos show the carved stamp and the printed fabric made with that stamp.
 I used
 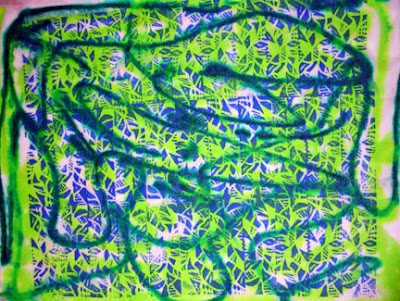 I layered this batch a little differently than the last one. I put a white piece of fabric down first, then layered the blue printed fabric face up. I sprayed it with water and squirted apple green and blue Dyna-flow on top.
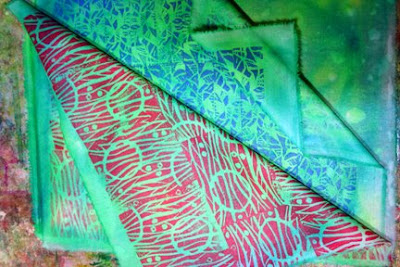 Then I added the red printed fabric face down and squished. Here's a photo of the stack when it was still wet. This is a great way to add a bit of background color to white fabric. I'll show you the final outcome in the next post.
 I used Jacquard
 This was pretty good, but it needed a little something.
 This first photo has some purchases from a store in San Jose that
  This is a sampler pack from
  Cut a hole out of an index card, I have 4 different sizes that I use. Move it over a magazine page, fabric, etc. until you see a composition that you like. Jeanne traces the design, but I have a hard time seeing the details through the tracing paper, so I just draw what I see.
 Turn each one around to see if a different orientation looks better. Choose a composition that you like and develop in whatever way suites your style.


