
 This is the original photo with a little contrast added.
 I wanted to change the color dramatically, so I decided to solarized it.
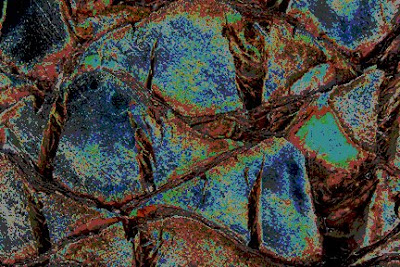 Next, I posterized it at a setting of 5. It didn't change it too much, but it added a lot of depth.
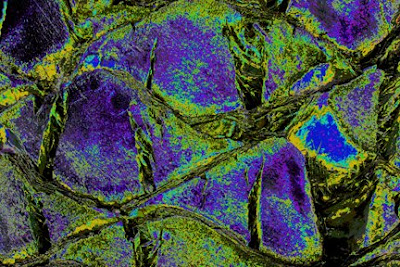 Here I've changed the colors by changing the master saturation to +60, the hue to +52 and the lightness to 0.
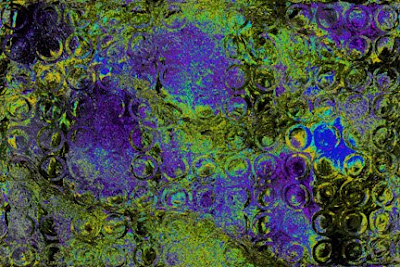 I've decided to displace a photo of circles. The horizontal and vertical setting was 70. The displacement map was stretch to fit and the undefined areas are wrap around. I like how the circles added texture to the large areas, but it's a little too obvious.
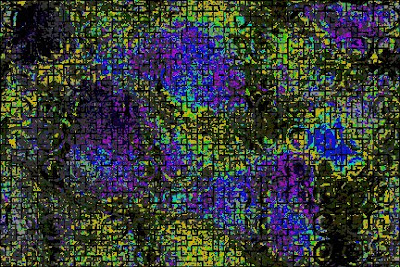 So, I added a tile filter. The number of tiles was 50, the offset was 20% and the background color was black. It knocked the circle back a bit and added another layer of texture. I like it, so I'll stop here.
Photoshop is a lot of fun. The more you play with the tools, the better you will understand what they do. Just remember to rename all your changes and Save As.
Image how surprised I would be if I opened the palm tree bark photo and found the altered image above!


