
If I had started with a solid color of fabric like they suggested and didn't use transparent paint for the first layer, I would probably be done already. But no, I had to use some really UGLY fabric that I've been saving for some odd reason. Usually, layering makes the fabric more interesting. At this point, I'm not convinced that I should have wasted my time.
There are a lot of step by step photos so I'll only show 2 pieces of fabric today.
Fabric 1

Hand dyed fat quarter. Not sure who made this, but it's not my style.

Squished fabric into a bag and added transparent Setacolor and Lumier paint. Still ugly

Squished fabric into a bag and added Neopaque and Lumier paint.
I still see the stamped design on the front side of fabric.
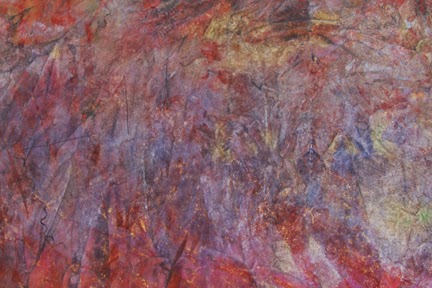
Back side of fabric . . . much better, but not great.
Fabric 2
All the steps are the same as Fabric 1.

I made this ugly fabric a long time ago using Soft Scrub with bleach.

Setacolor made it worse.

Front of fabric is still ugly.

Back of fabric is still ugly.
Am I completely wasting my time? Should I throw it away OR add one more layer?


