I'm back . . . Here's the second installment of my stamp carving and fabric printing experiments.

The first two photos show the carved stamp and the printed fabric made with that stamp.

I used
Neopaque paint to print the stamps in an all over design and let it dry.
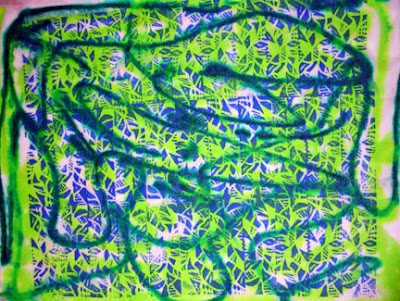
I layered this batch a little differently than the last one. I put a white piece of fabric down first, then layered the blue printed fabric face up. I sprayed it with water and squirted apple green and blue Dyna-flow on top.
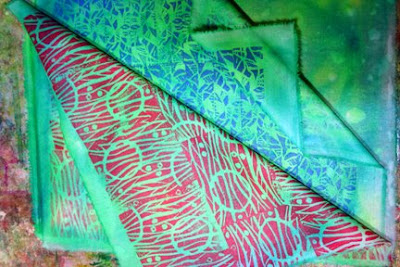
Then I added the red printed fabric face down and squished. Here's a photo of the stack when it was still wet. This is a great way to add a bit of background color to white fabric. I'll show you the final outcome in the next post.


